Special Wheel Installation Guide
Please read this guide carefully and share it with all personnel involved in converting your vehicle with special wheels.
Delivery
- Check if the wheels were damaged during transport and report any damage immediately to the shipping provider.
- Compare the delivery contents with your order.
- Verify all necessary components are included (wheel bolts/nuts, centering rings according to approval documents).
- Ensure the wheels are approved for your vehicle (check ABE or TÜV certificate).
- Notify us immediately in writing if the delivery doesn't match your order.
- Please note: Returns of wheels after tire mounting are not accepted.
Tire Mounting
This section doesn't apply if you ordered complete wheels.
- Mounting must be performed by qualified personnel (e.g., with wdk certification).
- Follow the wdk mounting instructions for UHP and runflat tires.
-
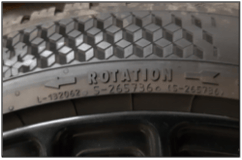
For directional tires: Observe the rotation direction (marked on the tire sidewall).
-
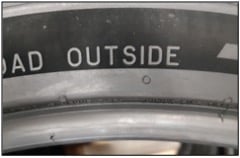
For asymmetric tires: The outer shoulder must face the outside of the vehicle.
- For direct TPMS: Check sensors and replace if necessary, observe tightening torque.
Wheel Balancing
This section doesn't apply if you ordered complete wheels.
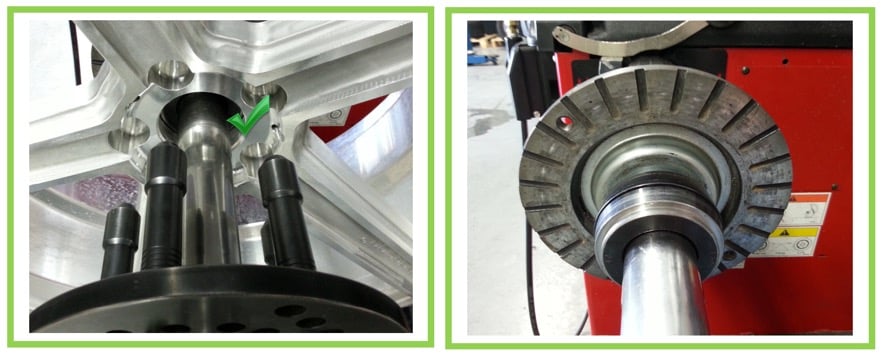
- Use appropriate mounting tools (type mounting flange with rear centering).
-
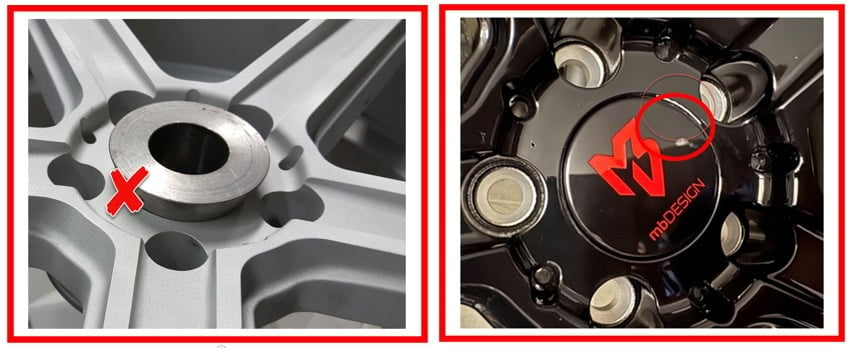
Never clamp the wheel from the front with a cone at the cap seat - this damages the coating!
- Use adhesive weights exclusively. Minimum clearance to brake components: 2 mm.
- If runout is poor during balancing: Improve by "matching" during tire mounting.
Wheel Installation on Vehicle
-
Preparation:
- Secure vehicle against rolling
- Loosen wheel fasteners (bolts/nuts) before lifting
- Lift vehicle with a lift (recommended)
-
Remove wheels:
- Completely remove fasteners and take off wheels
- Check and clean wheel hub surfaces
- Install centering rings if required
-
Install new wheels:
- For staggered setups, observe different sizes for front/rear axles
- Install wheels one by one and hand-tighten fasteners
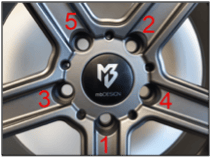
- Tighten in crisscross pattern (see tightening sequence)
-
Final tightening:
- Tighten with torque wrench (vehicle lifted or slightly lowered)
- Block brakes (e.g., with brake pedal holder)
- Observe manufacturer's torque specifications
- Tighten in same crisscross pattern
-
Final steps:
- Set tire pressure according to manufacturer specifications
- Check tire pressure monthly
- For direct TPMS: Initialize sensors
- For indirect TPMS: Reset system
Important Notes
Safety Instructions
Correct Mounting on Balancing Machine
Use a type mounting flange with rear centering to avoid damage.
Prohibited Mounting Method
Never clamp the wheel from the front with a cone - this damages the wheel coating and leads to inaccurate results!